Installing the Trigger Guard:
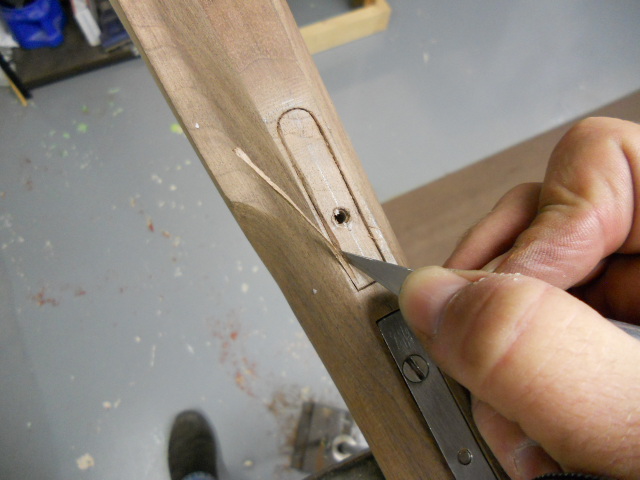
The trigger guard was inletted into the stock. First I inletted the front of the guard into the stock. I located the center line of the stock and then aligned the guard with this line. I drilled a 1/16" hole into the guard where I wanted the screw location. Then with the guard in place, I used this hole in the guard as a pilot hole to drill a 1/16" hole into the stock. The hole in the guard was then enlarged for the passage of a #6 screw. The guard was installed onto the stock with the screw. Using a knife, I traced around the tang of the guard. Removed the guard and deepened the cut lines. Then I "V" cut along these lines. Using a grooving tool I removed the wood inside of these lines. Using my 1/4" wood chisel, I removed the remainder of the wood to seat the guard into the stock.
Here is the finished front tang.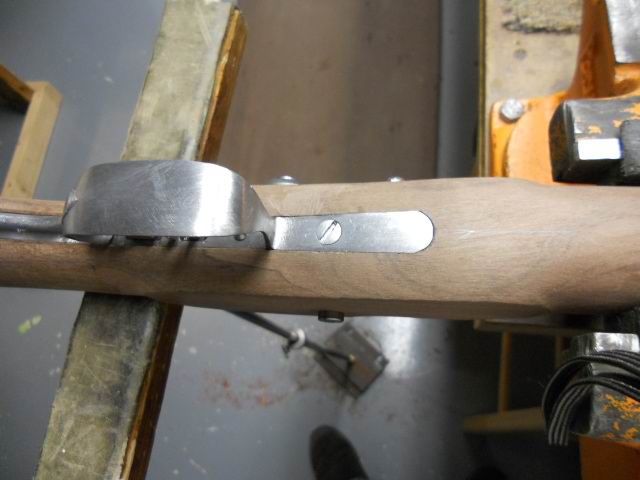
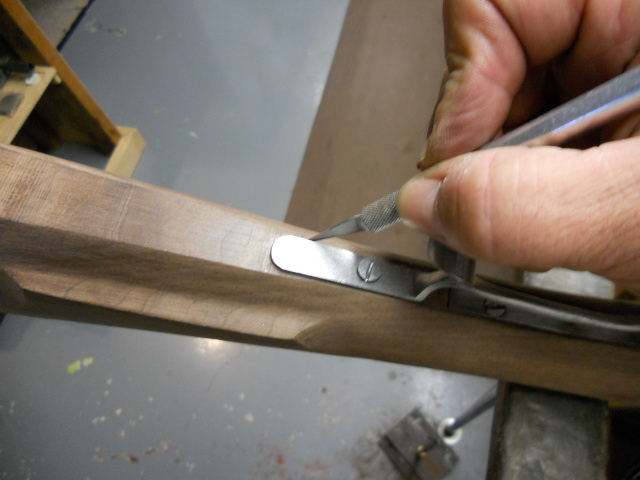
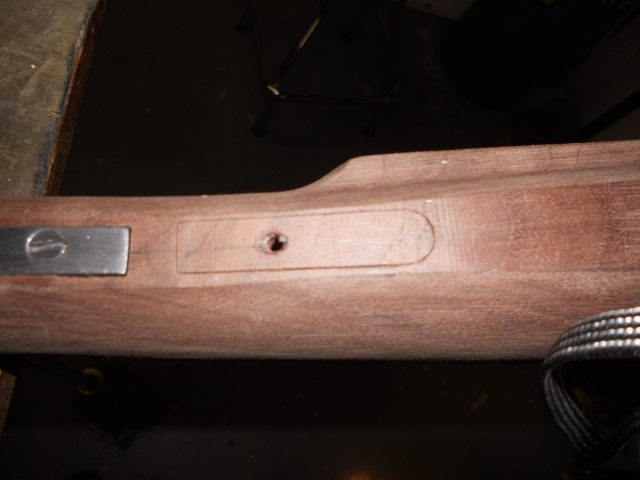
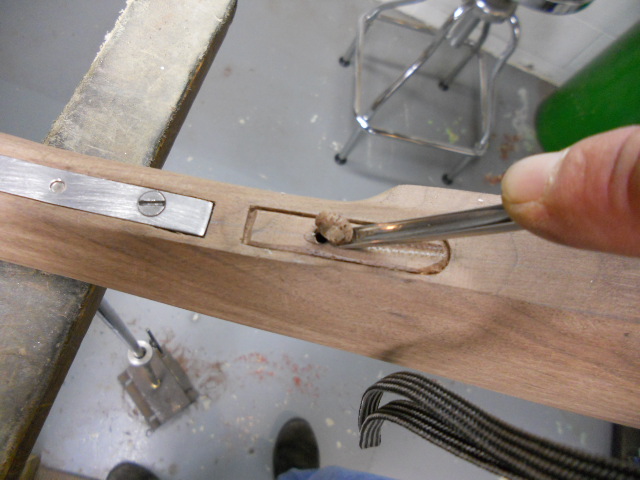
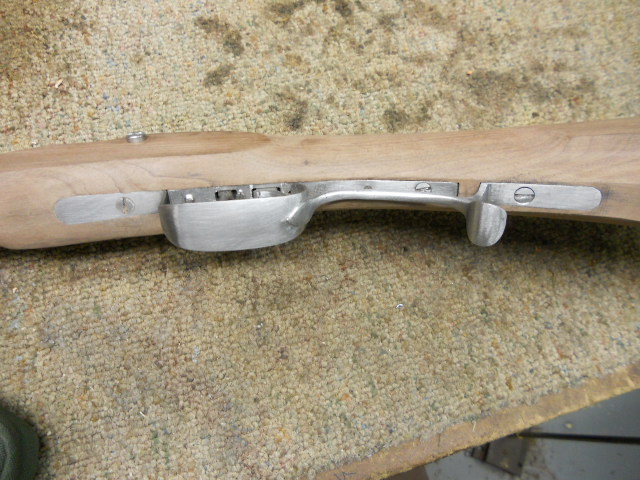
The following are a series of photos showing how I did the same for the rear
tang of the trigger guard. 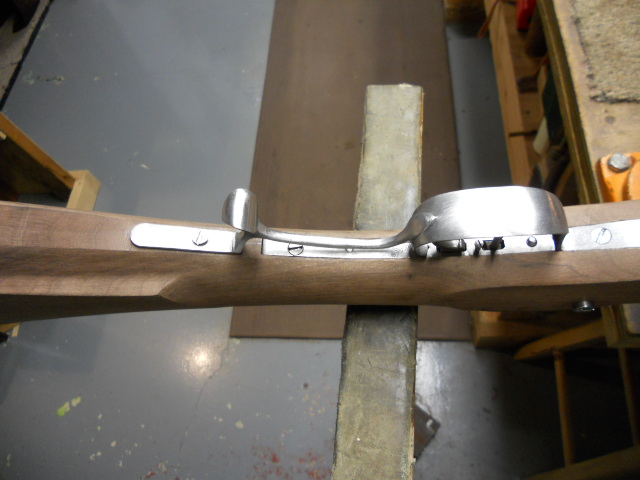

Hoot AL Rifle Shop
If you like the site or have any questions, drop me a line by clicking on "Hoot" below.

(c) Copyright 2005. All Rights Reserved.