Installing The Lock:
 Bill
is inletting the bolster of the lock into the stock. Prior to this we determined
where the top of the ramrod channel and the bottom of the barrel channel was on
the side of the stock. We also ran a ramrod down the barrel and marked on the
outside of the barrel where the face of the breech plug was. This helped
him determine where the lock needed to be on the stock.
Bill
is inletting the bolster of the lock into the stock. Prior to this we determined
where the top of the ramrod channel and the bottom of the barrel channel was on
the side of the stock. We also ran a ramrod down the barrel and marked on the
outside of the barrel where the face of the breech plug was. This helped
him determine where the lock needed to be on the stock.

With the bolster inletted, the plate is not laid flat and Bill then traces around the lock.
With the tracing done, he goes back
over the cuts 2-3 times. Removes the lock and then "V" cut trenches
the perimeter of the lock.


With the "V" trench made, now he can use a gouge to remove the wood inside the traced lock panel area.

With the lock plate inlet to the barrel, we then put each piece of the lock in turn onto the lock and then inlet each piece into the wood. First the bridle, tumbler and sear spring. The sear entry point was located inside the inletted lock area and a 3/8" hole was drilled slightly more then the length of the sear arm.
Next we inletted the main spring into the stock whilst still on the lock.
Some of the wood had to be removed on the stock above the lock to allow the hammer to move freely.
Once the lock was inlet, we drilled a 3/32" hole on the belly in line with the sear to test operation of the lock and remove any wood that interfered.
On the side plate side, we needed to level the
stock and even it out to match the lock side. To aid us in doing this, I had him
rub 
 a
black wax pencil on the edge of a straight edge piece of metal. Then by
rubbing it back and forth across it, you can see the high points that must be
removed.
a
black wax pencil on the edge of a straight edge piece of metal. Then by
rubbing it back and forth across it, you can see the high points that must be
removed.
Then the side bolt hole was drilled thru the
lock plate and the lock plate was put back into the stock. With the barrel in
the stock, we used this hole in the lock as a pilot to drill thru the stock and
the tang of the barrel. Next we removed the lock and opened up the hole
with a 13/64" drill bit. The lock was reinstalled and an 8X32 tap was
used to tap the lock from the side panel side of the stock. 
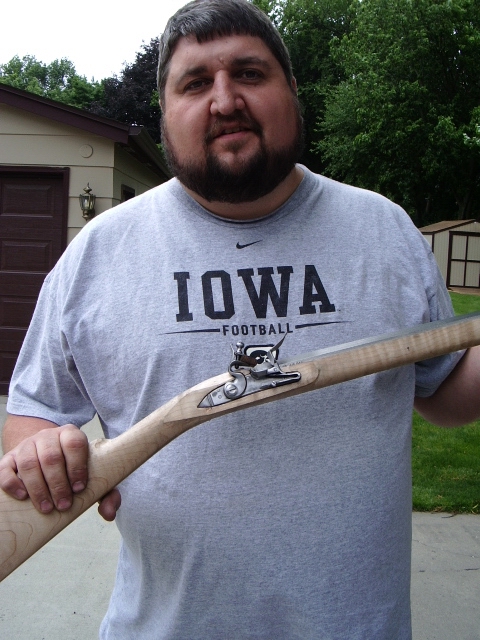
Bill now has the lock inlet into the stock and proudly displays his work.
Hoot AL Rifle Shop If
you like the site or have any questions, drop me a line by clicking on
"Hoot" below.

(c) Copyright 2005. All Rights Reserved.